Recording meetings has become essential — whether you’re in a remote team, taking online classes, or capturing interviews. But if you’ve tried Google Meet, you’ve probably noticed: the “Record” button doesn’t always exist.
In fact:
- Only Google Workspace (Business Standard/Education) accounts can record.
- Free Google accounts don’t have the option.
- Even with paid accounts, only the meeting organizer or someone in the same organization can record.
👉 So what do you do if you don’t have the record button? That’s what we’ll cover here — all your options, step by step.
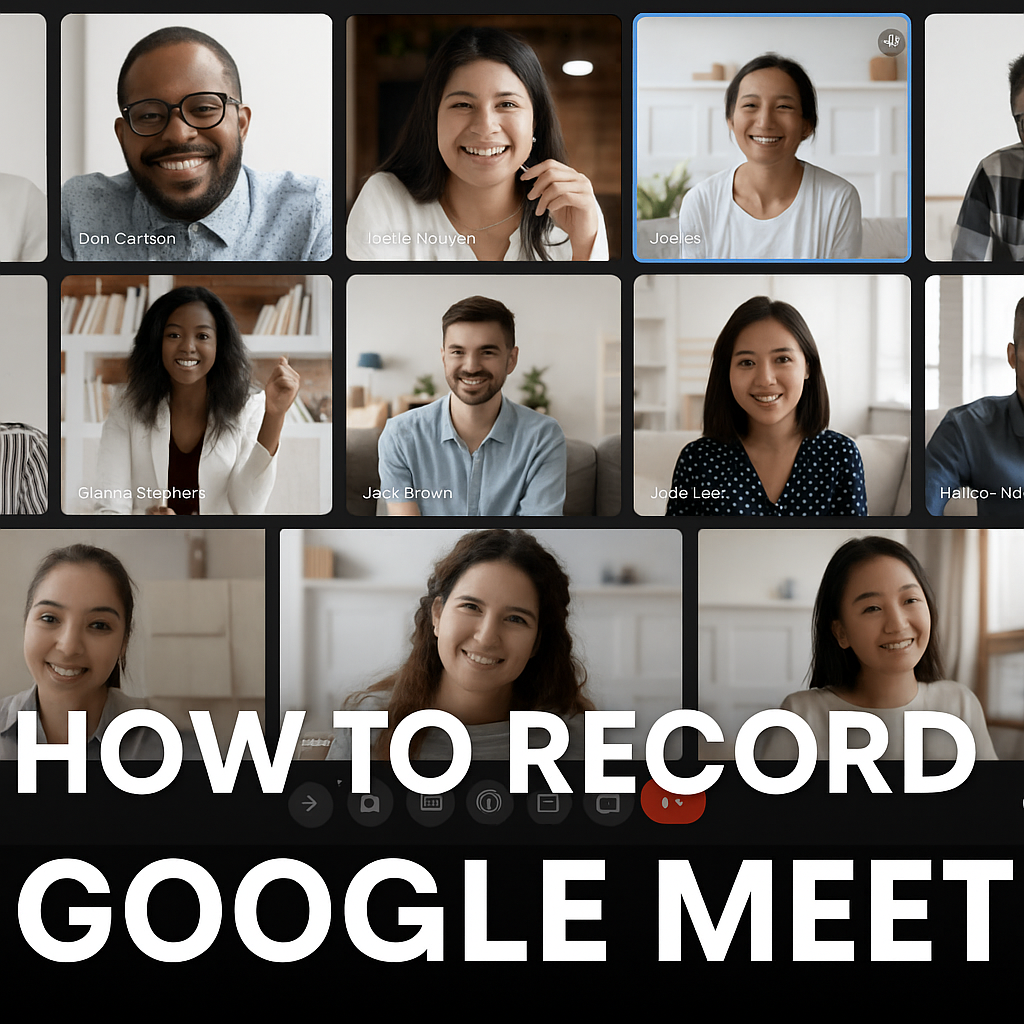
Method 1: Built-In Google Meet Recording (Paid Plans Only)
If you’re on a supported Workspace plan:
- Join the meeting.
- Click the three dots (More options) in the bottom bar.
- Select Record meeting.
- Google Meet saves the file to the meeting organizer’s Google Drive.
⚠️ Limitations:
- Only works with paid Workspace plans.
- Everyone in the meeting sees a notification (“Recording started”).
- File storage depends on your Google Drive.
Method 2: Using Screen Recording (Mac/Windows)
If you’re on a free account, the next option is to record your screen.
On Windows:
- Press Windows + G to open Xbox Game Bar.
- Click Record.
On Mac:
- Press Cmd + Shift + 5.
- Select the area of the screen and click Record.
⚠️ Limitations:
- Records video but not always great with audio.
- You have to manage big video files yourself.
- No transcript/notes, so reviewing meetings is time-consuming.
Method 3: Chrome Extensions (Mixed Results)
There are extensions like Loom or Screencastify that let you record meetings.
- They work inside the browser.
- Some offer limited free tiers.
⚠️ Limitations:
- Many require premium plans for unlimited recordings.
- Still saves files as large videos.
- No automatic notes or summaries.
Method 4: The Simpler Hack — Record & Transcribe With Your Phone
This is the method I personally use when Google Meet doesn’t let me record:
- Download Speak2Note on your phone.
- Open the app and tap Record.
- Place your phone next to your laptop during the meeting.
- Speak2Note captures the audio, then automatically generates:
- Full transcript
- Summary
- Key points
👉 No permissions or setup needed.
👉 Works with Google Meet, Zoom, Teams — any meeting.
Watch this quick tutorial (30 seconds) showing exactly how it works:
Why This Method Works Well
Unlike video files, you don’t end up with gigabytes of recordings you’ll never rewatch. Instead, you instantly get:
- Clean notes you can skim in minutes.
- A summarized version so you don’t miss key decisions.
- Portable access on your phone — no need to dig in Google Drive.
FAQs
Q: Can I record Google Meet without permission?
Google doesn’t provide a way to record without notifying participants. The only official option is through Workspace paid accounts. However, if your goal is simply to keep personal notes, you can use external tools (like screen recorders or transcription apps). Always respect company policies and local laws.
Q: Does the other person know if I use Speak2Note?
A: No — since you’re recording from your own device, no notification is sent inside Google Meet.
Q: Can I use this for Zoom or Teams too?
A: Yes, Speak2Note works the same way for all major video meeting platforms.
Final Thoughts
If you’re on a paid Google Workspace account, the built-in recording feature is the most direct option — but most people don’t have it. Screen recorders and Chrome extensions work in a pinch, but they’re clunky and file-heavy.
For a quick, portable solution, using your phone with Speak2Note is the easiest way to record, transcribe, and summarize Google Meet calls.
👉 Try Speak2Note on iOS: download here